
 EN
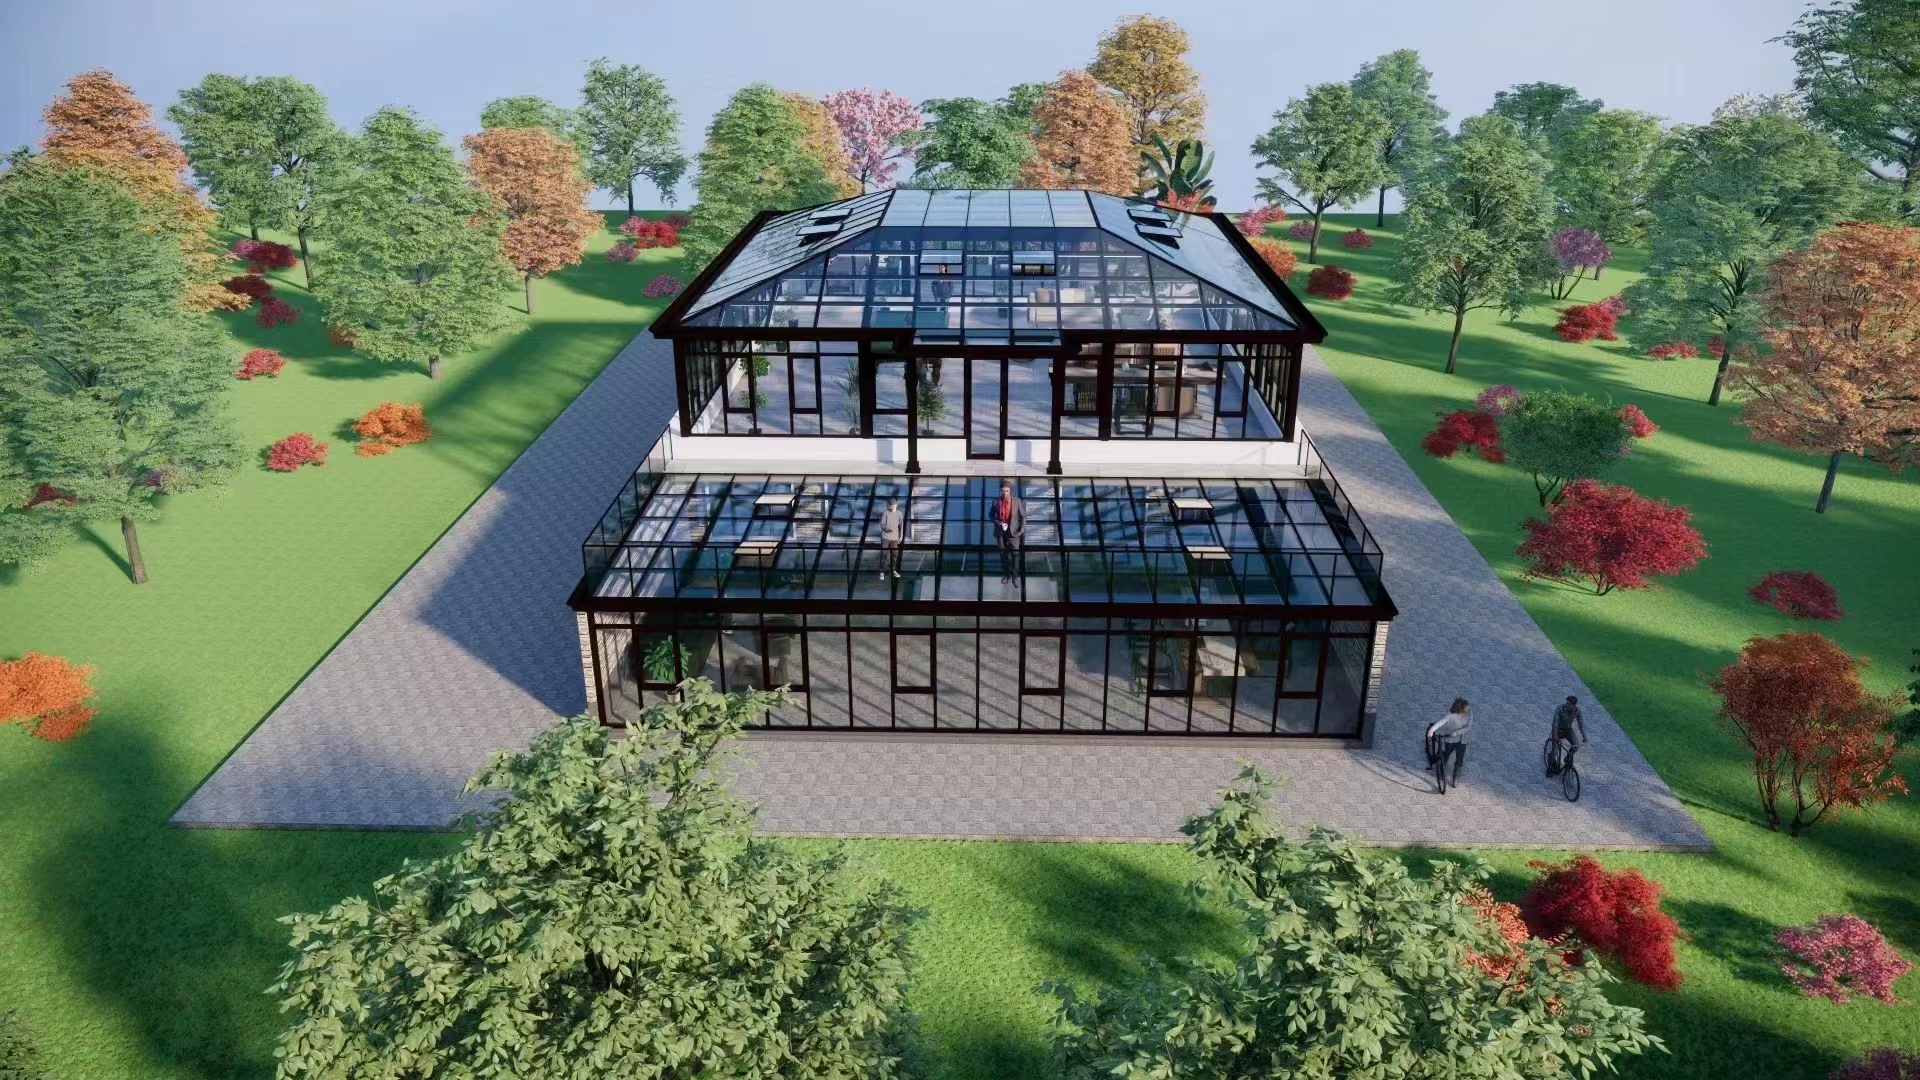
Installing a glass sunroom transforms your outdoor space into a comfortable, year-round living area that extends your home's functionality. A glass sunroom combines natural light with weather protection, creating an ideal retreat for relaxation, entertaining, or simply enjoying nature without exposure to the elements. Whether you're a homeowner looking to add value to your property or seeking to maximize your outdoor entertaining space, understanding the installation process for a glass sunroom is essential for a successful project.
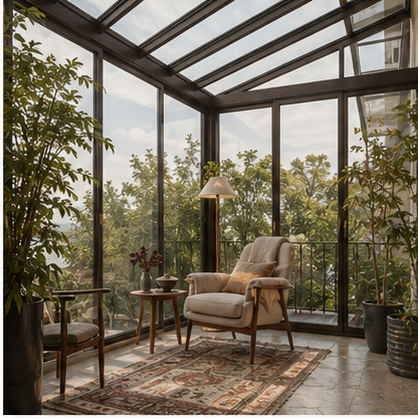
The installation of a glass sunroom requires careful planning, proper tools, and attention to detail at each stage. Many homeowners underestimate the complexity of a glass sunroom installation, assuming it's a simple weekend project. In reality, installing a glass sunroom successfully involves site preparation, foundation work, structural assembly, glass panel installation, and sealing. This comprehensive guide walks you through each phase, ensuring your glass sunroom project progresses smoothly and results in a beautiful, functional addition to your home.
Site Preparation and Foundation Work for Your Glass Sunroom
Assessing and Preparing Your Space
Before you begin any glass sunroom installation work, thorough site assessment is critical. Examine the location where your glass sunroom will be positioned, checking for level ground, adequate drainage, and proximity to utilities. The foundation of your glass sunroom must be stable and properly prepared to support the structure's weight and withstand environmental stress. Clear the area of obstacles, vegetation, and debris that could interfere with construction or compromise the glass sunroom's stability and appearance.
Proper drainage prevents water accumulation around your glass sunroom's foundation, protecting it from long-term damage. Measure the installation area precisely and mark the perimeter where your glass sunroom will sit. Check local building codes and regulations to ensure your glass sunroom meets setback requirements, height restrictions, and permit specifications. Many jurisdictions require permits for glass sunroom installations, so obtaining these documents before starting construction is essential for compliance and future resale value.
Building a Solid Foundation
The foundation is the cornerstone of any successful glass sunroom installation. Most glass sunroom projects use concrete pad foundations that distribute weight evenly across the ground. Begin by laying out the exact dimensions of your glass sunroom on the prepared site, using stakes and string lines to mark the perimeter accurately. Excavate the foundation area to the depth specified by your glass sunroom manufacturer or local building codes, typically four to six inches for a residential glass sunroom.
Pour concrete into the excavated area, ensuring it's level across the entire footprint of your glass sunroom. A properly leveled concrete foundation prevents structural stress, frame misalignment, and installation difficulties throughout the glass sunroom assembly process. Allow the concrete to cure for the recommended time, usually seven to fourteen days, before beginning your glass sunroom's frame assembly. Proper curing ensures the foundation can support the glass sunroom's structural load without settling or cracking.
Frame Assembly and Structural Installation
Preparing and Assembling the Aluminum Frame
Once your foundation is ready, frame assembly begins the structural phase of your glass sunroom installation. Most modern glass sunroom systems use lightweight aluminum frames that resist corrosion and provide strength without excessive weight. Lay out all aluminum frame components systematically, checking them against your glass sunroom's assembly documentation for completeness and accuracy. Begin assembling the base frame on the concrete foundation, ensuring each connection is square and secure before moving to the next section.
Use the fasteners provided with your glass sunroom kit, applying appropriate torque to ensure connections are tight without over-tightening, which can damage the aluminum frame. As you build up the frame for your glass sunroom, regularly check for square using a carpenter's square and level tool. Any deviation from square during the early stages of your glass sunroom installation becomes magnified in later phases, creating gaps in glass panel seating and alignment problems. Progressive checking and adjustment during frame assembly prevents costly corrections when your glass sunroom is partially complete.
Installing Vertical Posts and Cross-Bracing
Vertical posts form the structural skeleton of your glass sunroom, bearing the load of roof panels, glass walls, and environmental stress. Install posts at intervals specified by your glass sunroom manufacturer, ensuring they're plumb using a level tool in both directions. Cross-bracing members strengthen your glass sunroom frame against wind loads and lateral stress, improving structural rigidity and longevity. Secure all cross-bracing connections firmly, as these members are critical to your glass sunroom's overall integrity and safety performance.
Once the vertical frame of your glass sunroom is complete and verified for plumb and square, install any intermediate horizontal support members. These supports in your glass sunroom installation distribute the weight of roof and glass wall panels to the vertical posts and foundation. Ensure all fastener connections in your glass sunroom frame are corrosion-resistant and appropriate for outdoor exposure. Stainless steel or galvanized fasteners prevent rust and degradation, maintaining your glass sunroom's structural integrity over many years.
Glass Panel Installation and Finishing Touches
Preparing and Installing Glass Panels
Glass panel installation transforms your glass sunroom from a skeletal frame into an enclosed, functional space. Before installing any glass panels in your glass sunroom, clean all frame surfaces thoroughly to remove dust, debris, and contaminants that could prevent proper sealing. Install weatherstripping or gaskets into the frame channels where your glass sunroom's panels will sit, creating a weather-tight seal. These materials prevent air and water infiltration around your glass sunroom's panels, maintaining energy efficiency and comfort inside.
Carefully lift and position each glass panel into its designated frame opening, working methodically around your glass sunroom installation. Use safety equipment and proper lifting techniques when handling large glass panels for your glass sunroom, as breakage creates safety hazards and project delays. Secure panels with the fastening system specified by your glass sunroom manufacturer, typically glazing strips or mechanical fasteners that hold panels while allowing for thermal expansion and contraction. Ensure each panel of your glass sunroom is properly seated in its gasket and secured before moving to the next panel.
Sealing and Weatherproofing
Sealing your glass sunroom's panel joints prevents water infiltration and air leakage that compromises performance and durability. Apply silicone caulk along all joints between glass panels and the aluminum frame of your glass sunroom, using a caulking gun and finishing tool for clean, consistent lines. This step in your glass sunroom installation is essential for preventing leaks during heavy rain or snow load situations. Allow caulk to cure fully according to the product specifications before exposing your glass sunroom to weather stress.
Install roof panels if your glass sunroom includes a roof component, following the same installation principles as wall panels. Thermal breaks and proper drainage in your glass sunroom roof prevent condensation and water pooling that damages interior furnishings and structures. Apply reflective film or tinting to glass sunroom panels if desired, reducing solar heat gain and protecting interior furnishings from UV damage. These finishing touches enhance the comfort, appearance, and functionality of your glass sunroom installation.
FAQ
What tools do I need to install a glass sunroom?
Installing a glass sunroom requires a comprehensive tool kit including a level, carpenter's square, drill-driver, socket set, adjustable wrench, rubber mallet, caulking gun, and measuring tape. You'll also need safety equipment such as gloves, safety glasses, and when working with glass panels in your glass sunroom installation, a harness if working at heights. Many glass sunroom kits include specific tools or specify required equipment, so consulting your manufacturer's documentation ensures you're properly equipped before beginning your glass sunroom project.
Can I install a glass sunroom on an existing patio?
Yes, you can install a glass sunroom on an existing concrete patio, provided the patio is level, structurally sound, and appropriately sized for your glass sunroom footprint. Inspect the existing patio for cracks, settlement, or poor drainage that could compromise your glass sunroom installation. If the patio is uneven, you may need to pour additional concrete or use shims to level the foundation for your glass sunroom. Always verify that your glass sunroom installation meets local building codes and doesn't violate any HOA restrictions before beginning work on your existing patio.
How long does a glass sunroom installation typically take?
A typical glass sunroom installation takes between two to four weeks, depending on weather conditions, your available labor, and the complexity of your glass sunroom design. This timeline includes foundation curing time, which may account for one to two weeks of your glass sunroom project schedule. Factors such as site preparation requirements, permit acquisition, and complications discovered during installation can extend your glass sunroom timeline. Professional installation services can often complete a glass sunroom faster than DIY approaches, though labor costs increase overall project expense.